


• Print • from school desktops (Follow Me Print)
- Works on any school desktop located anywhere in the school
- Log into the computer [staff use full email address, students use only your user.name] – your card is linked to your school user.name and password so if someone else is logged in the job won’t appear on your card when you tap it at the copier.
- Create/Edit/Open your document
- Save your document
- Print your document as normal – the Follow Me Print queue is the default printer.
- you will not be asked to enter a code or do anything else at the computer
- do the same for any other documents
- once you have printed all your documents go to the copier
- follow the steps: Tap & Release • at the printer below
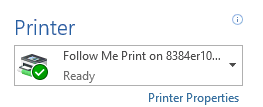
Print to the Follow Me Print queue:

• Print • from personal devices (webprint)
- only works when at school
- use the WebPrint link in the menu bar above

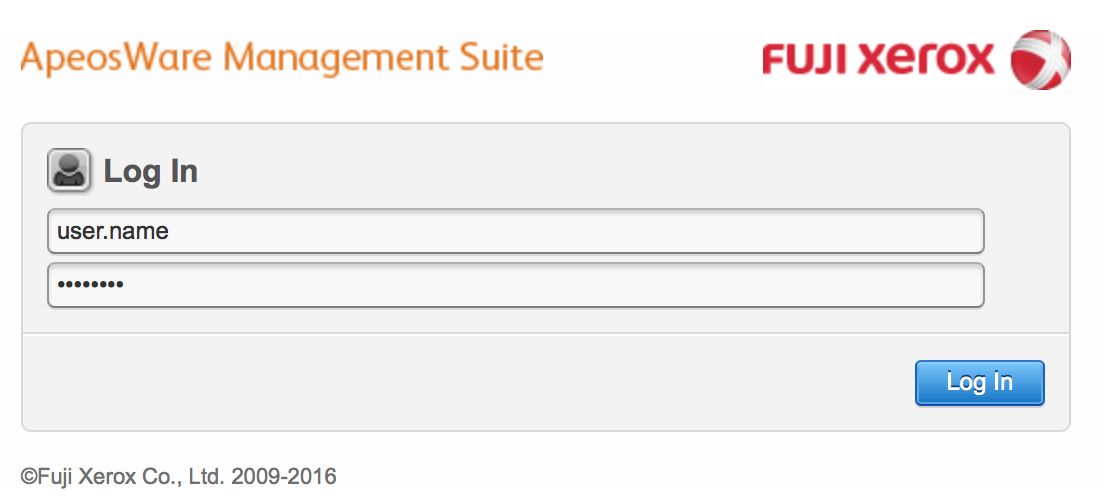
- when asked to log in use your School username and password (do not use @detnsw)
- you will then be taken to the WebPrint page
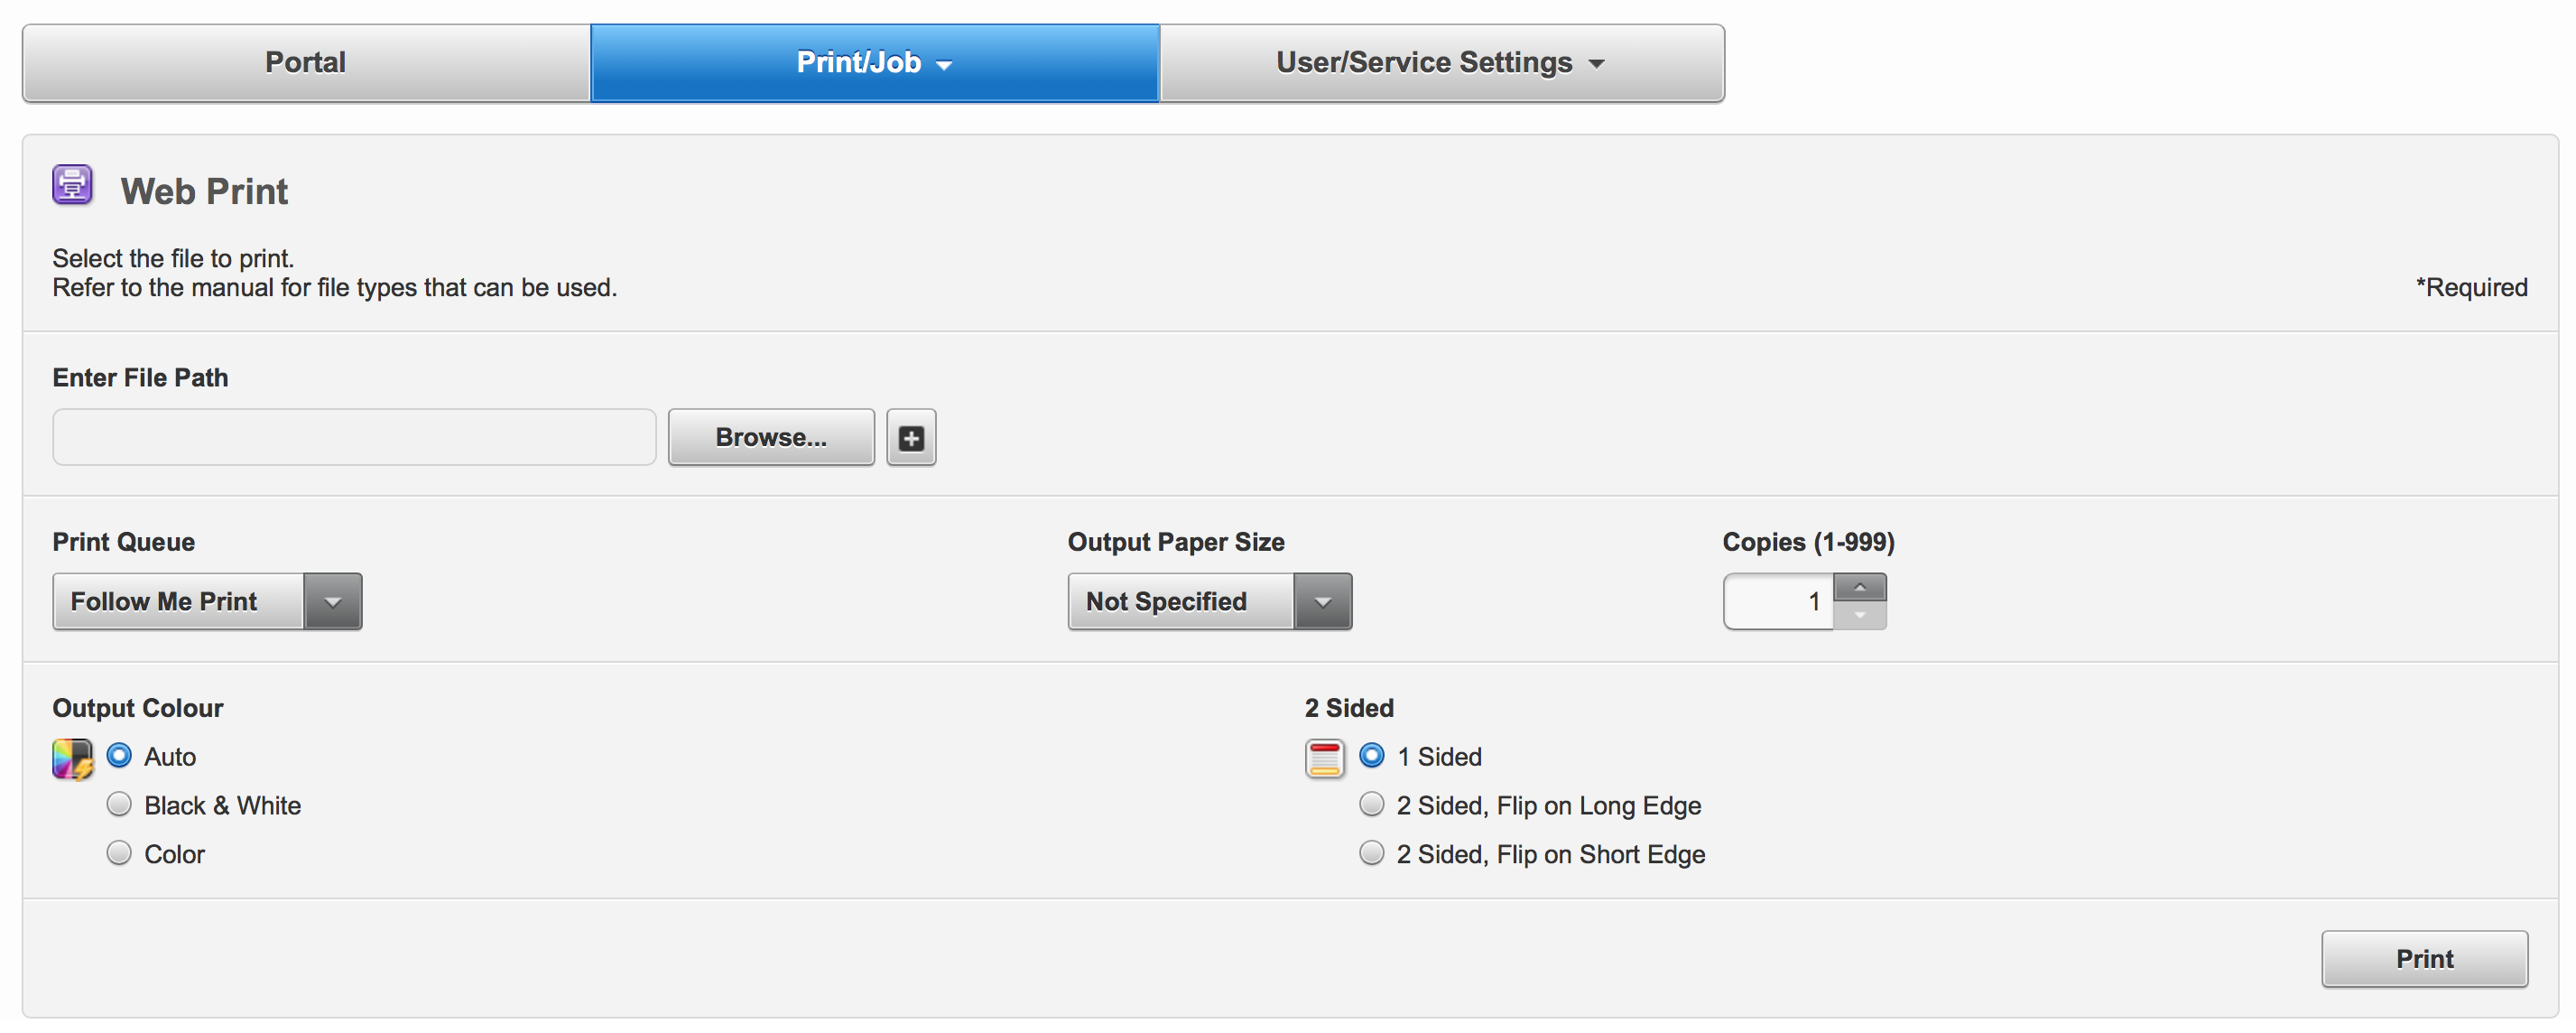
- click Browse… to upload a file
- use the + button to add more files (up to 5)
- if you want to set the Output Paper Size do so
- if you have a document with colour in it but want to print it in Black&White then you need to set the Output Colour manually.
- you can also set to print double sided
- Once all files are uploaded and settings made click the Print button.
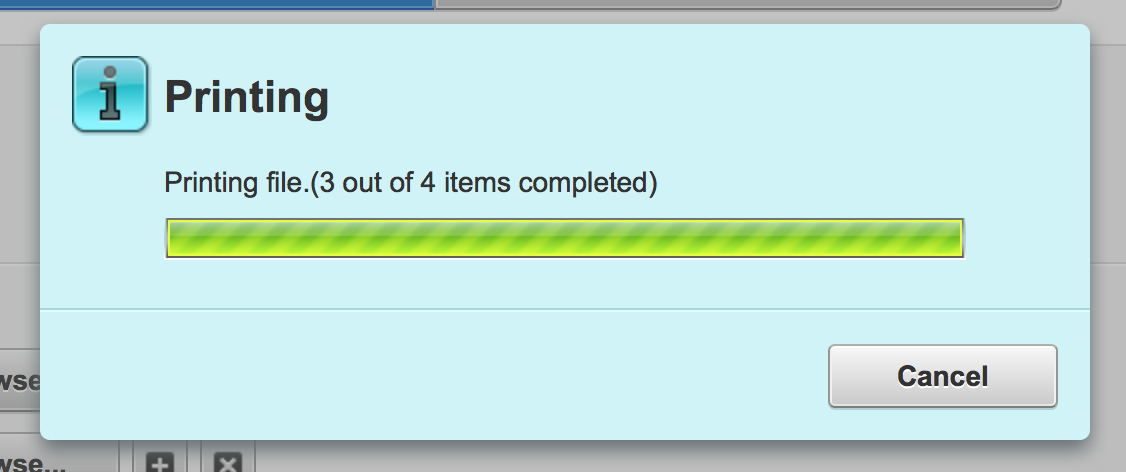
- The files will be uploaded and processed.
- May take minutes for larger files.
- The print button will be greyed out while uploading.
- Once upload is complete a Printing box will appear to show progress of processing the documents.
- Once the processing is complete you will see a results box. It will show any files that could not be processed and the cost to release the print jobs.
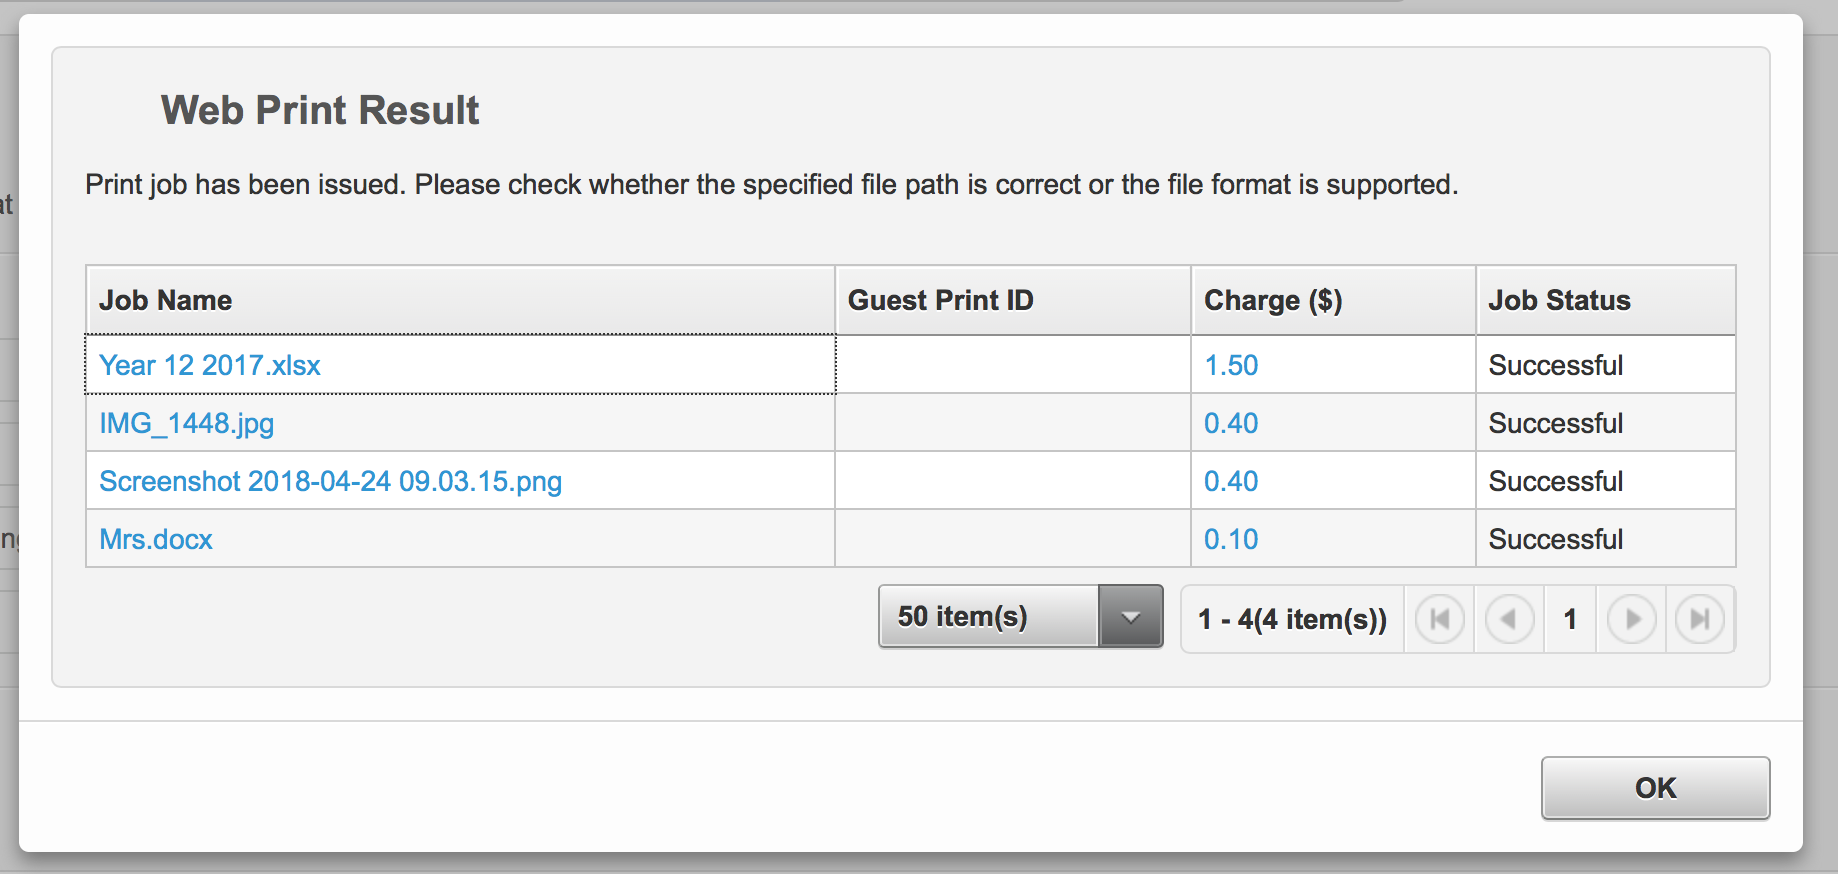
- You are only charged if you release the job at a printer.
- Supported File Types: JPG, PNG, TIFF, Word, Excel, PowerPoint, TXT.
- Photoshop files are not supported.
- For reasons only Fuji Xerox will find acceptable there is no way to find out your account balance from the web page.
- To know the balance of your account tap your card at the recharge kiosk beside the copier in the library.
• Tap & Release • at the printer
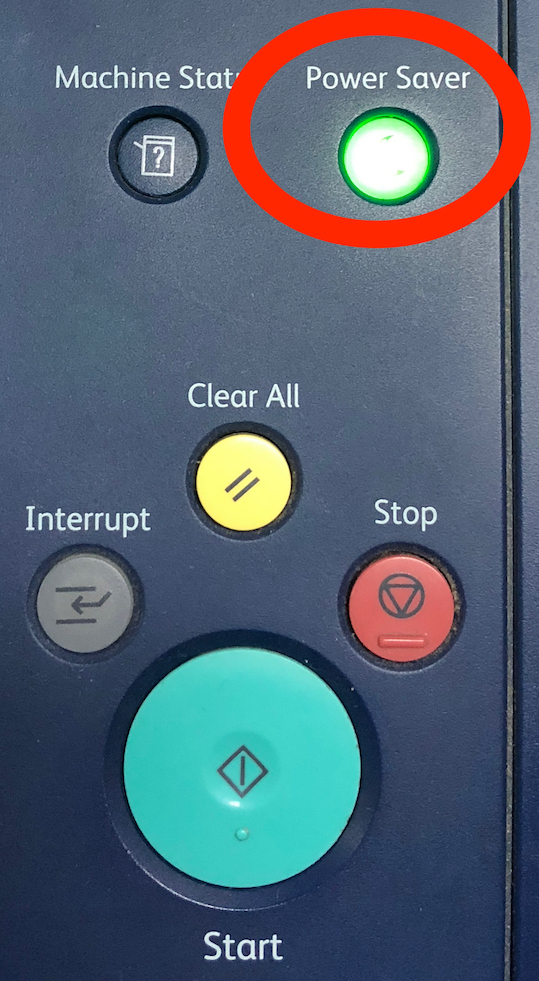
- If the screen is black press the Power Saver button.
- Tap your card on the wing on the left of the copier.
![]()
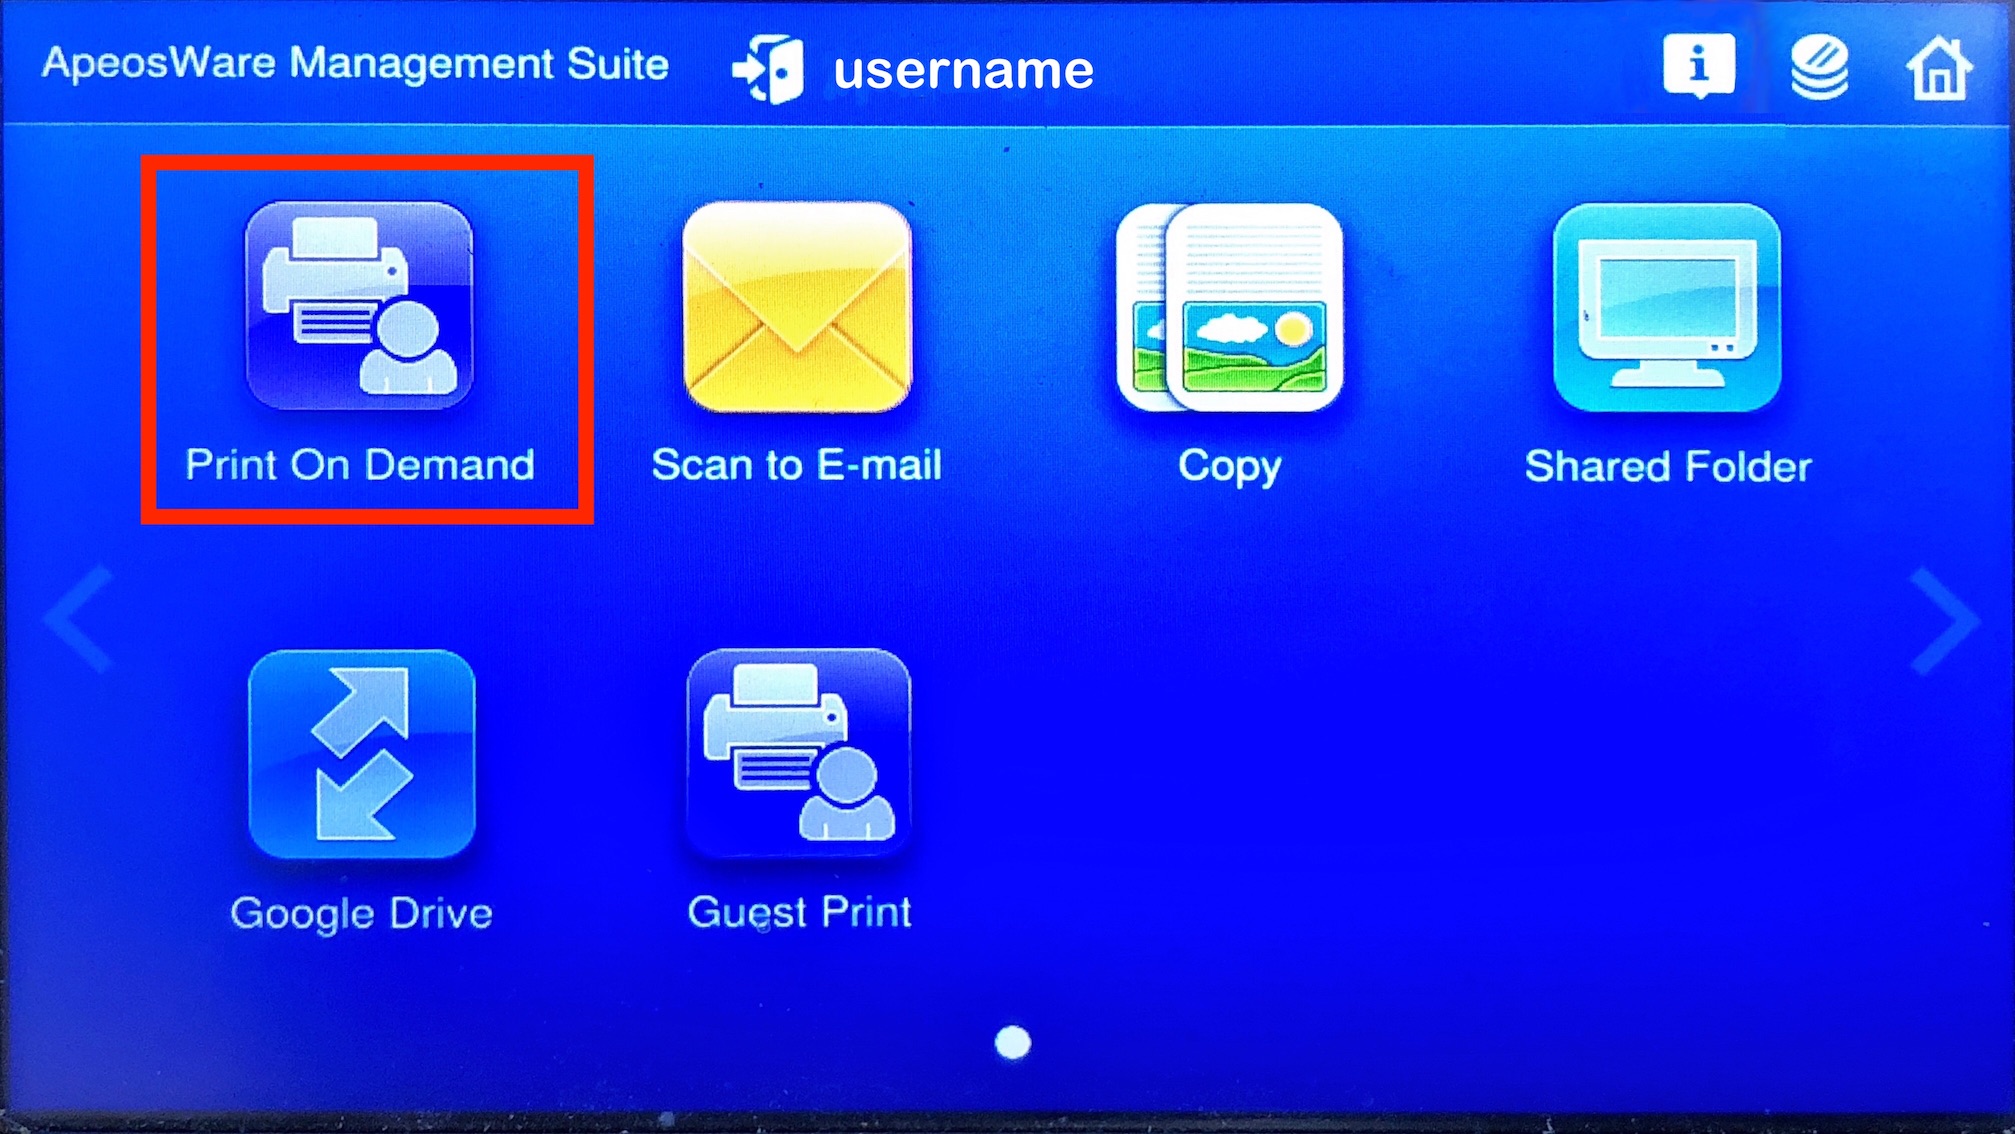
- Once the machine has logged in tap the Print On Demand icon
- A list of your print jobs will appear – select the item/s you wish to print
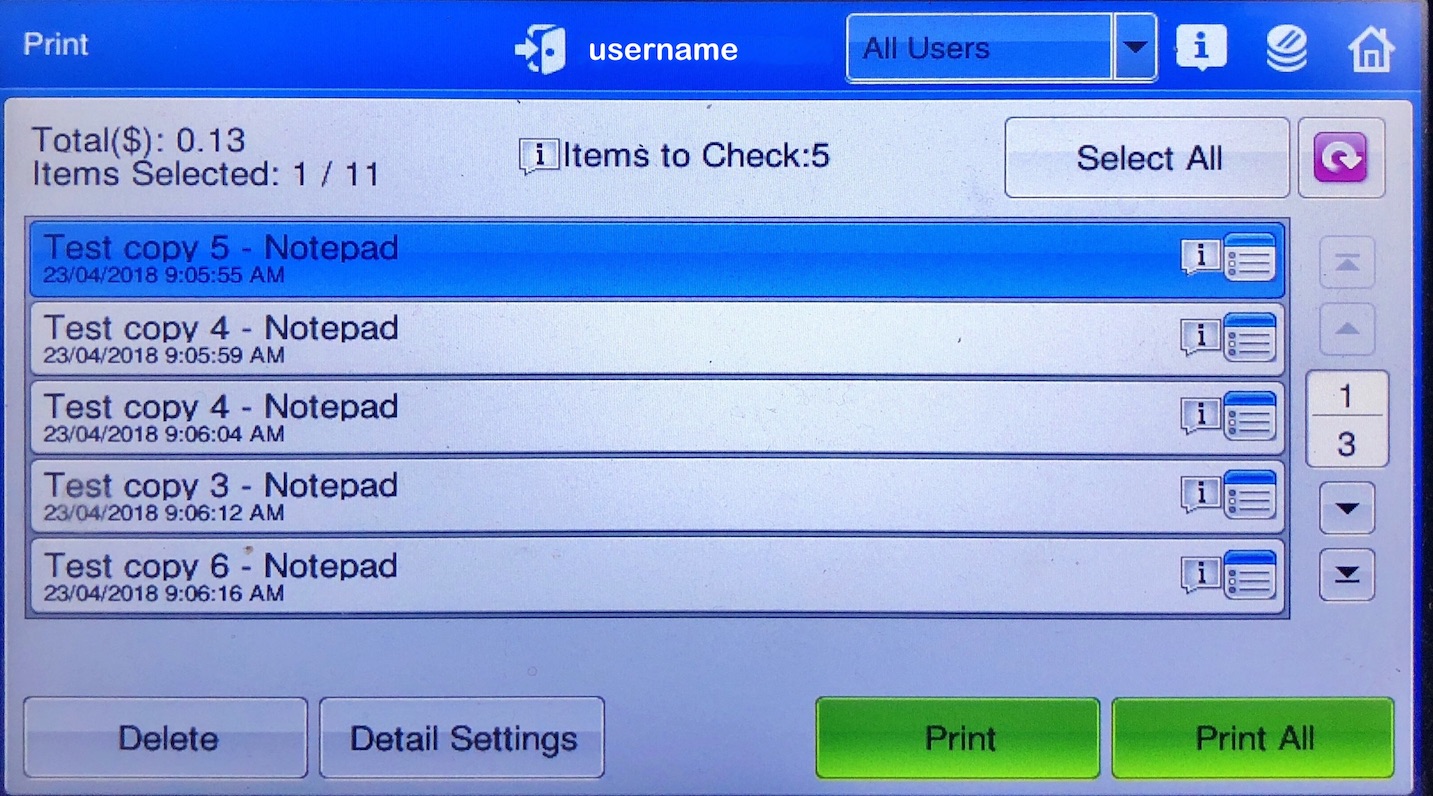
- You can print all
- You can also select and delete jobs you no longer wish to print
- Jobs will disappear after 24 hours
- Tap Print– or Print All to print all the jobs in your list.
- Once the printing is complete tap continue.
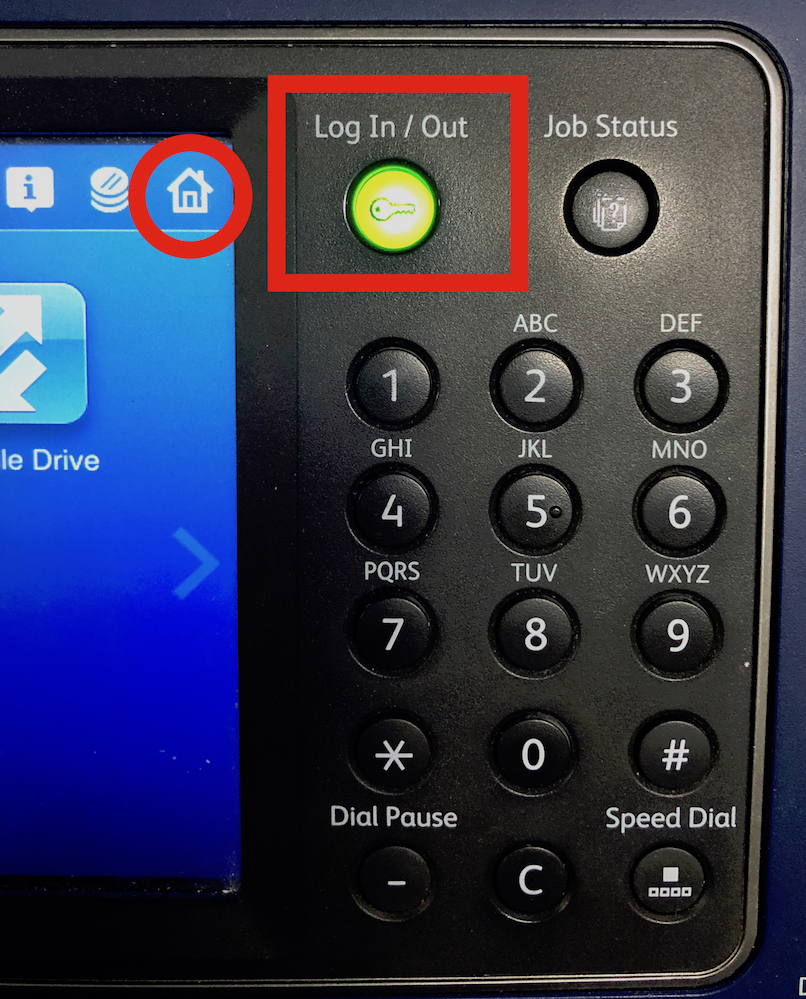
- If you wish to carry out other activities tap the Home Icon in the top right hand corner of the screen. See circled icon in the image above.
- If you are finished, or stuck on any screen, then press the Log In/Out button located on the right hand side of the copier above the number 1 button. See red box in the image above.